For our first meeting we had 8 of the 10 girls attending. I talked to them a little about their sewing experience, then pulled out Kwik Sew 2667 (sleep pants, shorts and camisole), explaining that when Thalia took sewing lessons at the (now defunct, sob) Eunice Farmer, this was the first item of clothing that she made. We talked about which view they'd like to make if they were sewing the pattern.
Then we read what it had to say about the types fabric we should use for the pattern (I'd made copies of the pattern envelope back and highlighted the parts I wanted them to notice). We saw it was for "lightweight wovens". I'd brought a large pile of fabric from home, and we discussed whether they were appropriate. I had, let's see, denim, quilting cotton, flannel, fleece, jersey, satin, corduroy, and probably some others. Some of the things, like fleece, would be appropriate for jammy pants, but not for this particular pattern. Overall they seemed pretty clued in on what type of fabric they were looking for. I showed them Thalia's finished jammy pants, too, so they could see what she eventually chose.
"Okay, now we've chosen our pattern, we've chosen our fabric; how much fabric do we need? Well, that depends on what size we're going to make." I had AnnaBeth stand up, and I demonstrated how to measure her waist and hips with a tape measure, and we found her size on the chart (I'd discussed with the other moms ahead of time that we weren't going to go around and measure everyone -- too many negative consequences -- I told the kids that they were growing so fast that they needed to check their size right before they go buy a pattern). We found her size on the chart on the back of the pattern. Then we figure out how much fabric we'd have to buy.
Next we looked at the notions that were listed, and discussed what they were. Finally we got out the pattern and looked at the pieces.
I'm counting that part of our meeting as accomplishing tasks #5 Pick a Pettern, #6 A Perfect Fit, and #9 Find the Fabric.
Having whipped through that in fairly quick time, we got to the FUN part -- actually making something. I explained that before Thalia ever got to sew a piece of clothing, she made a drawstring bag somewhat like this:

I made this using a modified version of Chica and Jo's Drawstring Packpack. I chose to use a lightweight twill fabric because I thought it was a little sturdier than a quilting cotton. Also, I wanted a plain fabric so the kids could embellish their bags (task #3 Foot Fun is about embellishing socks, which struck me as a lame thing to do, but Thalia pointed out that it was really about embellishing SOMETHING so why not simply embellish whatever we're making). Bottomweights were on sale at JoAnn's and Hancock's (yay) so I could fairly inexpensively get enough for the entire troop. The real killer was the cording -- each bag takes 4 yards, meaning I needed 40 yards, and the cheapest I could find was 49 cents per yard. Hence the crocheted cords -- I used yarn I already had to whip up a couple of cords.
So, this first meeting was spent embellishing our bags-to-be. A wiser, more experienced leader had pointed out that it would be easier for the girls to sew on stuff BEFORE we sewed the bags together, thus lowering the likelihood of accidentally sewing the bag shut while applying an applique or somesuch.
My pre-meeting prep:
Washed all fabric and cut it out. I didn't true up the grain lines (or even iron it, for that matter). A good seamstress would've yanked the fabric on the diagonals to get the grainlines true, but, alas, I am lazy.
I cut out an 18 by 16 piece of poster board to use as my template (and, yes, I had help EVERY FLIPPIN' STEP OF THE WAY from my sidekick here)

which I drew around with pencil

cut out, then ironed (easier to iron small pieces)

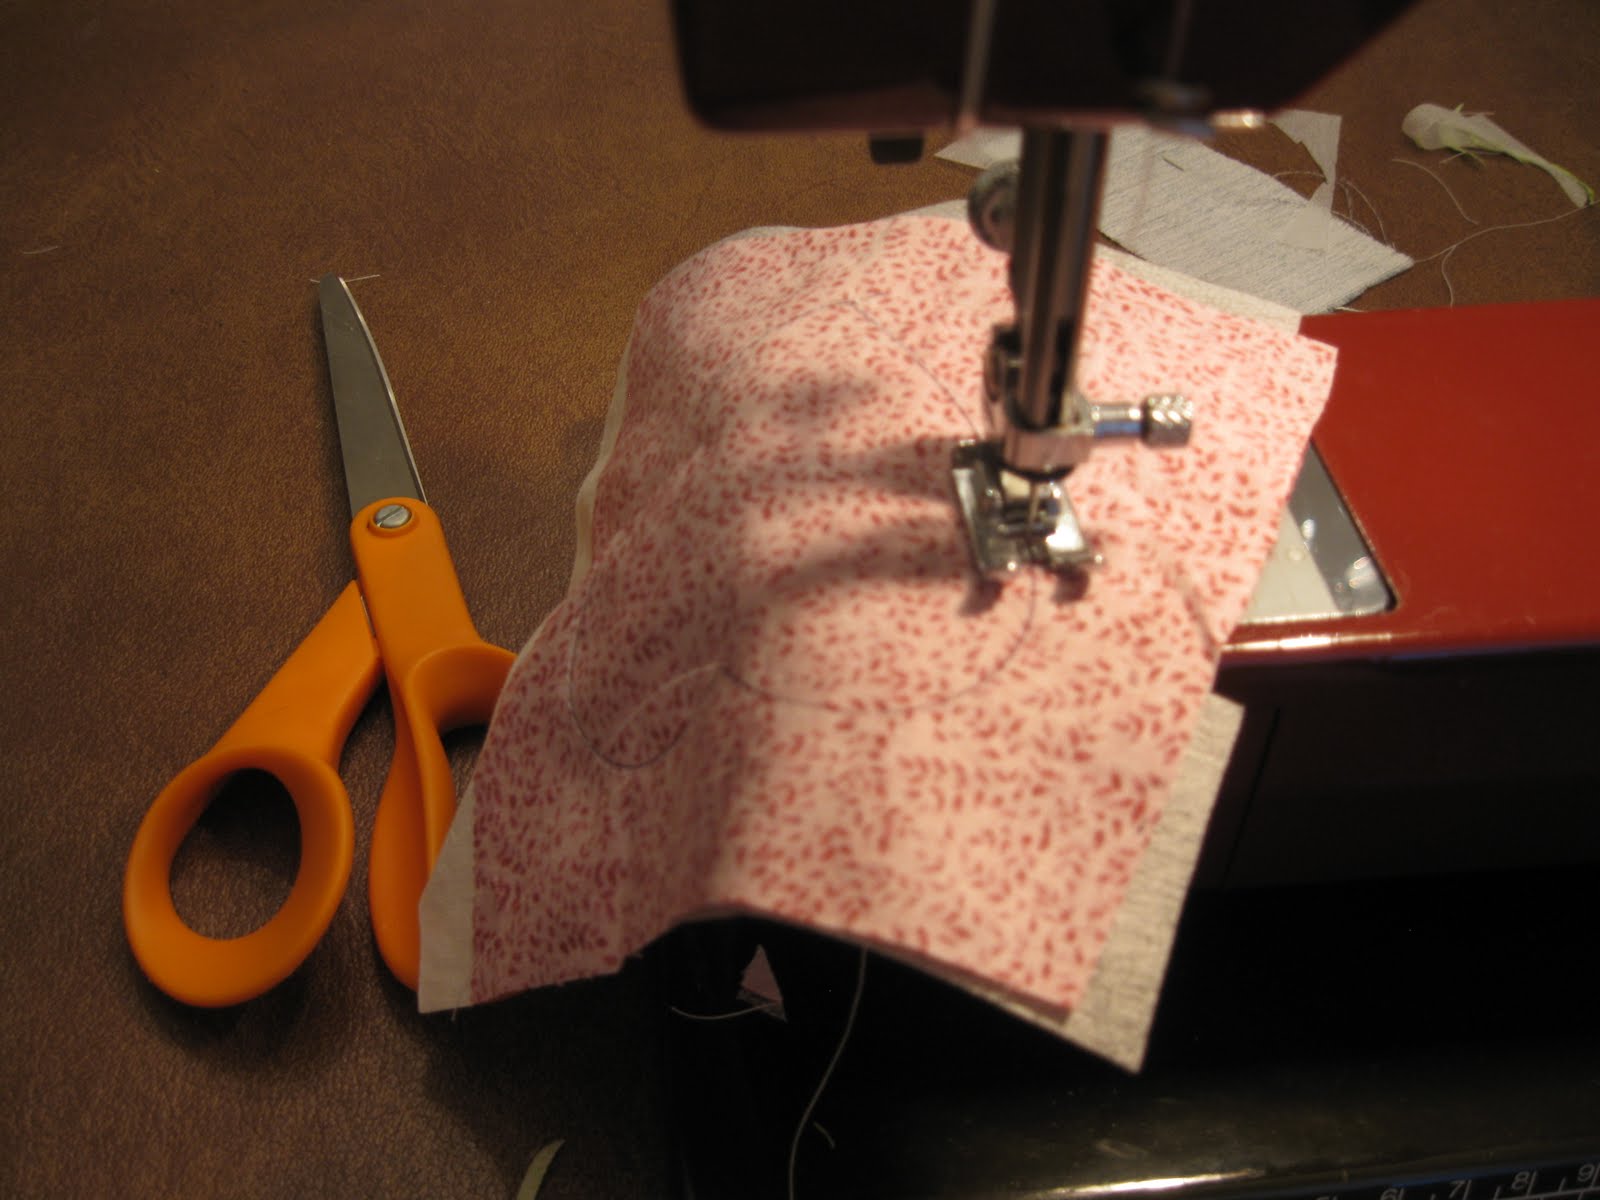
then serged around since I have NO desire to do french seams with this crowd.

Measure down 3 inches from the TOP for the drawstring casing, and marked that in pencil on the BACK of the fabric. Twill has a front and a back, but it's hard to see, particularly if you're about 10 years old (frankly, I've screwed it up while sewing pants, and I should know better), so I wanted it to be marked ahead of time.

Next, I gathered up various things to sew on to our bags as embellishments. We're hand sewing our trims on (practicing task #1 Hands Down "try your hand at hand sewing"). I had buttons and ribbons, and wanted to add more. Fabric scraps seemed too prone to ravel, and "real" appliques are tough to hand sew. So I made appliques with quilting cotton and fusible interfacing. A quilter would do a spiffier job of this, but I was trying to do a large stack in a short time, so this is the quick-and-dirty version.
Check out this uber-cool Robert Kaufman fabric I found at Jackman's. They have all sorts of Boy Scout and Girl Scout fabric there.

I decided to cut out these little faux-badge medallions and make appliques.

So I put a piece of lightweight Pellon fusible interfacing face down on top of it, stitched around the "badge" edges (easy to see through the interfacing), trimmed off the seam edges, cut a slit in the interfacing

Turned the entire thing right side out so that the fusible side of the Pellon is against the back of the fabric
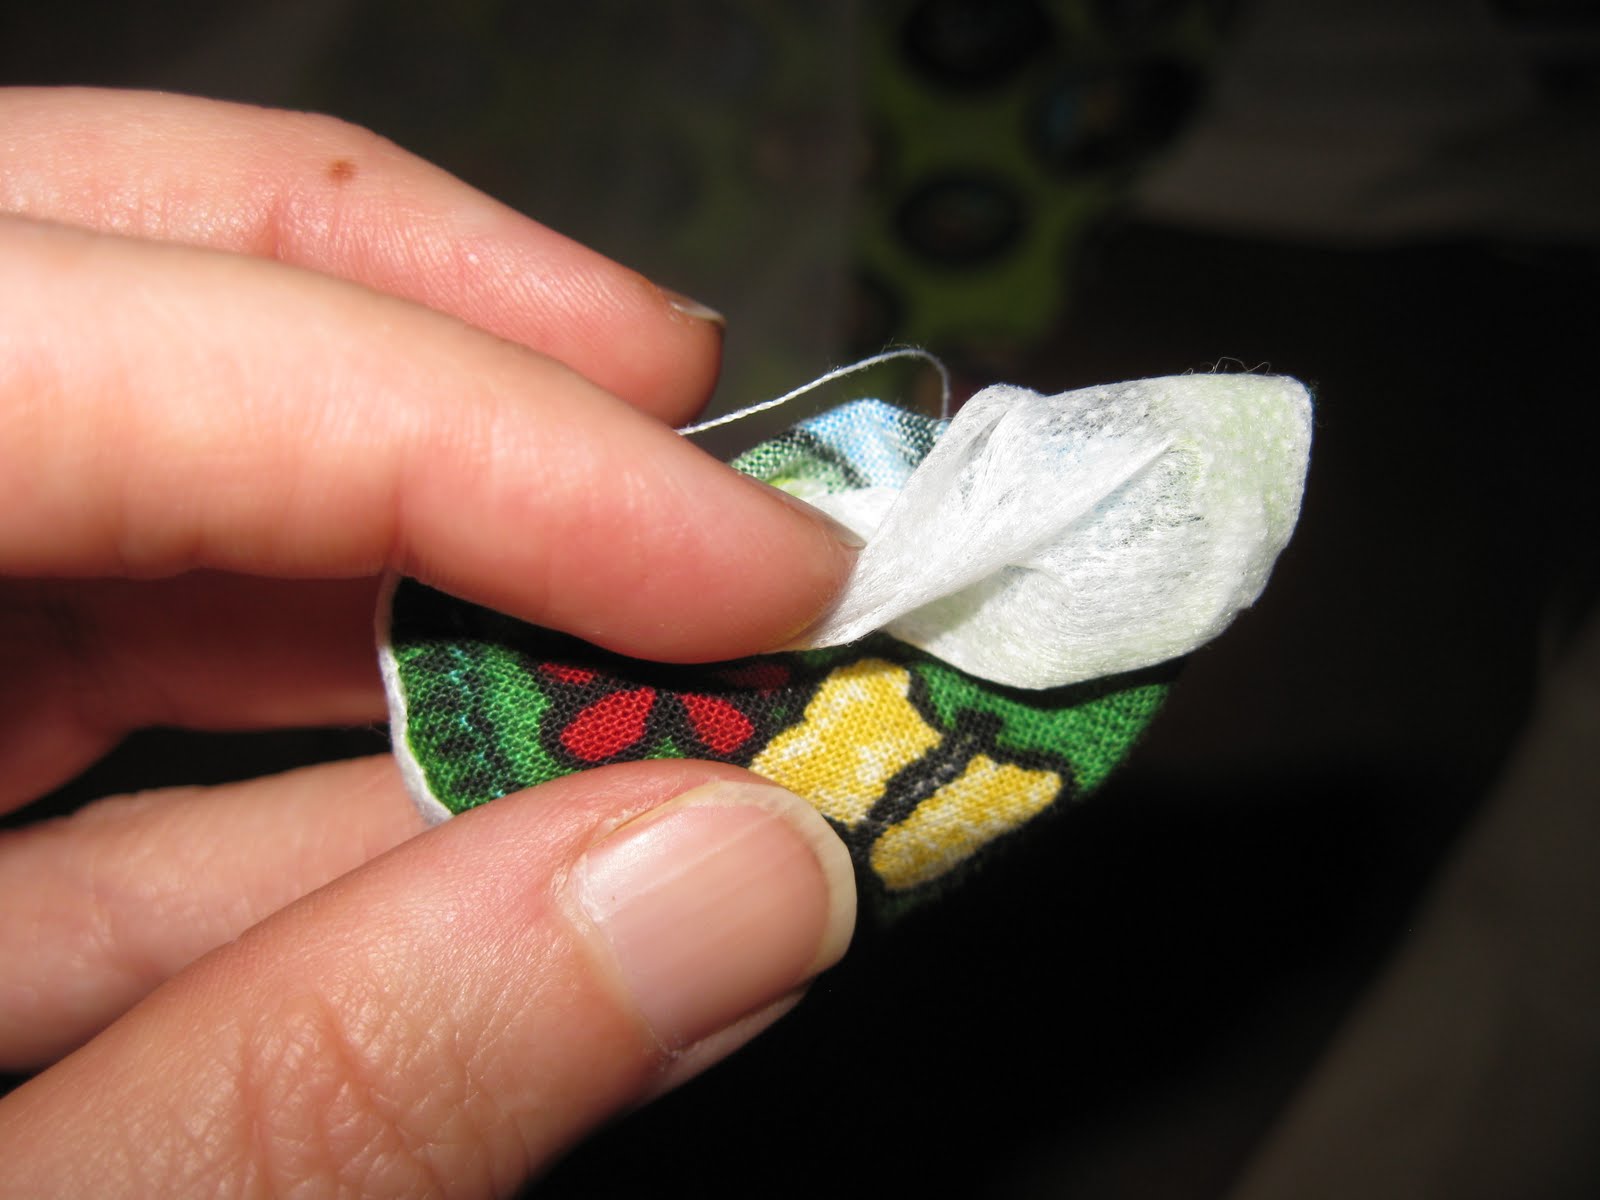
And ironed it.

I also drew hearts on the back of some other fabric and followed a similar procedure
Plus some pictures off of some flannel we had, some rectangles (I envisioned the rectangles to be used to write their names on with Sharpie or fabric markers, but AnnaBeth said, "Oh, I want to use one for a pocket"; then it turned out that a bunch of the girls wanted to sew the faux-badges to the rectangles, then use the entire thing as a pocket ... who am I to stand in the way of their creative vision?).

And with the help of the moms in attendance, we got everyone's needle threaded, and they started sewing!

At the end of the meeting I put everyone's in large individual Ziplocs with their names on them, thus reducing the possibility of losing or forgetting them for the next meeting.
This went amazingly well, and the kids seemed to really enjoy it.
Next meeting we'll be sewing these up on sewing machines (task "2 A Stitch in Time) and Senior Girl Scouts providing coaching for each Junior (Thalia troop of Senior Girl Scouts have decided they're doing the Fashion badge, which includes the task "teach knitting, crocheting or sewing to a younger girl").
3 comments:
You are one heck of a scout leader/knitting teacher. I hope those kiddos and their parents know how lucky they are to have you.
Ziplocs and everything!
Wow. Just wow!
thanks for posting this... I'm a GS leader of a multi-level troop. And this gave me idea for how to work it out for my troop. I've bookmarked several of your posts.
Post a Comment